Troubleshooting
- All lights on PSS panel should be green for user operation and the beam is stored in the ring (check TV screen). If the beam was lost in the ring, after the repair is done, APS will announce “shutter permit is enabled” – after that, manually open station A shutter on a PSS panel and wait for 15 minutes for a monochromator to warm up. If there is a red light “Faults Reset” – call the floor coordinator (2-0101) to inquire about this problem
- Lost beam (no flux) - make sure that all lights are green on PSS panel and there is beam in the ring, if all lights are green -- recover the saved tune state (hit READ TUNE STATE in the left upper menu, make sure you are at the same energy the tune state was saved); Still no flux – change energy : go to 12658eV (still no flux, change energy to 11000eV and again to 12658eV). Click “MAXIMIZE FLUX” in the top-left corner of the menu. Call your support beamline personnel if none of the above brings the beam. If the beam was lost in the ring, after the repair is done APS will announce “shutter permit is enabled” – after that, manually open station A shutter on a PSS panel and wait for 15 minutes for a monochromator to warm up.
- The most common problem during the MD2 operation
is that the program md2_comwrapper_server is dying either because of lost communications between ADSC
and MD2 or because of user error. When md2_comwrapper_server is not running, the data collection is hindered. Should md2_comwrapper_server fails, you
should wait ONE minute to md2_comwrapper_server autorestart, if not, manually restart MD2 software: Exit
from MD2 control system (Menu-File -> Exit), wait until the window
disappears. Kill MD2_RPC_comwrapper window, if it is present (check the
taskbar). Double click the md2_control_GUI_NECAT2 icon on the desktop of the MD2 operation computer.
 Wait
until
MD2 system is running (2-3 minutes) and MD2_RPC_comwrapper
window should appear in a while and it should be minimized to the
taskbar. Make sure you
are always in the “Data Collection” mode during ANY manipulations
within ADSC data collection software. See chapter “Starting the MD2
diffractometer software on the MD2-operation computer” on
full
process
of
restarting MD2 software.
Wait
until
MD2 system is running (2-3 minutes) and MD2_RPC_comwrapper
window should appear in a while and it should be minimized to the
taskbar. Make sure you
are always in the “Data Collection” mode during ANY manipulations
within ADSC data collection software. See chapter “Starting the MD2
diffractometer software on the MD2-operation computer” on
full
process
of
restarting MD2 software.
- A DSC software does not collect any data after pressing “collect” – may be again the problem of MD2_comwrapper not running , see #2 above. Restarting ADSC software may also help. Before restarting ADSC software please check for any ccd daemons still running: Exit ADSC and type “ps –e | grep ccd” and “ps –e | grep det”. If you see any ccd/det processes still running –kill them (kill -9 process id#). Now re-start again ADSC software by typing “ccdsys startup”.
- The experimental station cannot be searched – Check that the red button on the yellow box is not pressed in (occasionally someone may lean and push it). Check PSS panel: If there is a red light “Faults Reset” – call the floor coordinator (2-0101) to inquire about this problem.
- Slow responding or frozen CONSOLE - Restart the CONSOLE script: – press Execution Options
–>
Abort
SCRIPT in the top menu (use Ctrl-Alt-Del only as a last resort to kill CONSOLE, (do not send any
report to M$). To re-start n
 ew
CONSOLE-- find and double-click icon called “EXEC_Intel”; Click on “Execution Option” and choose
“Execute Script”; wait untill ALL connections are established.
ew
CONSOLE-- find and double-click icon called “EXEC_Intel”; Click on “Execution Option” and choose
“Execute Script”; wait untill ALL connections are established.
In case if it is necessary to reboot the computers: you should start first from the “master” computer and after rebooting (login as “necat”), double click on “start system” icon. You should see FOUR running windows as on figure 19.
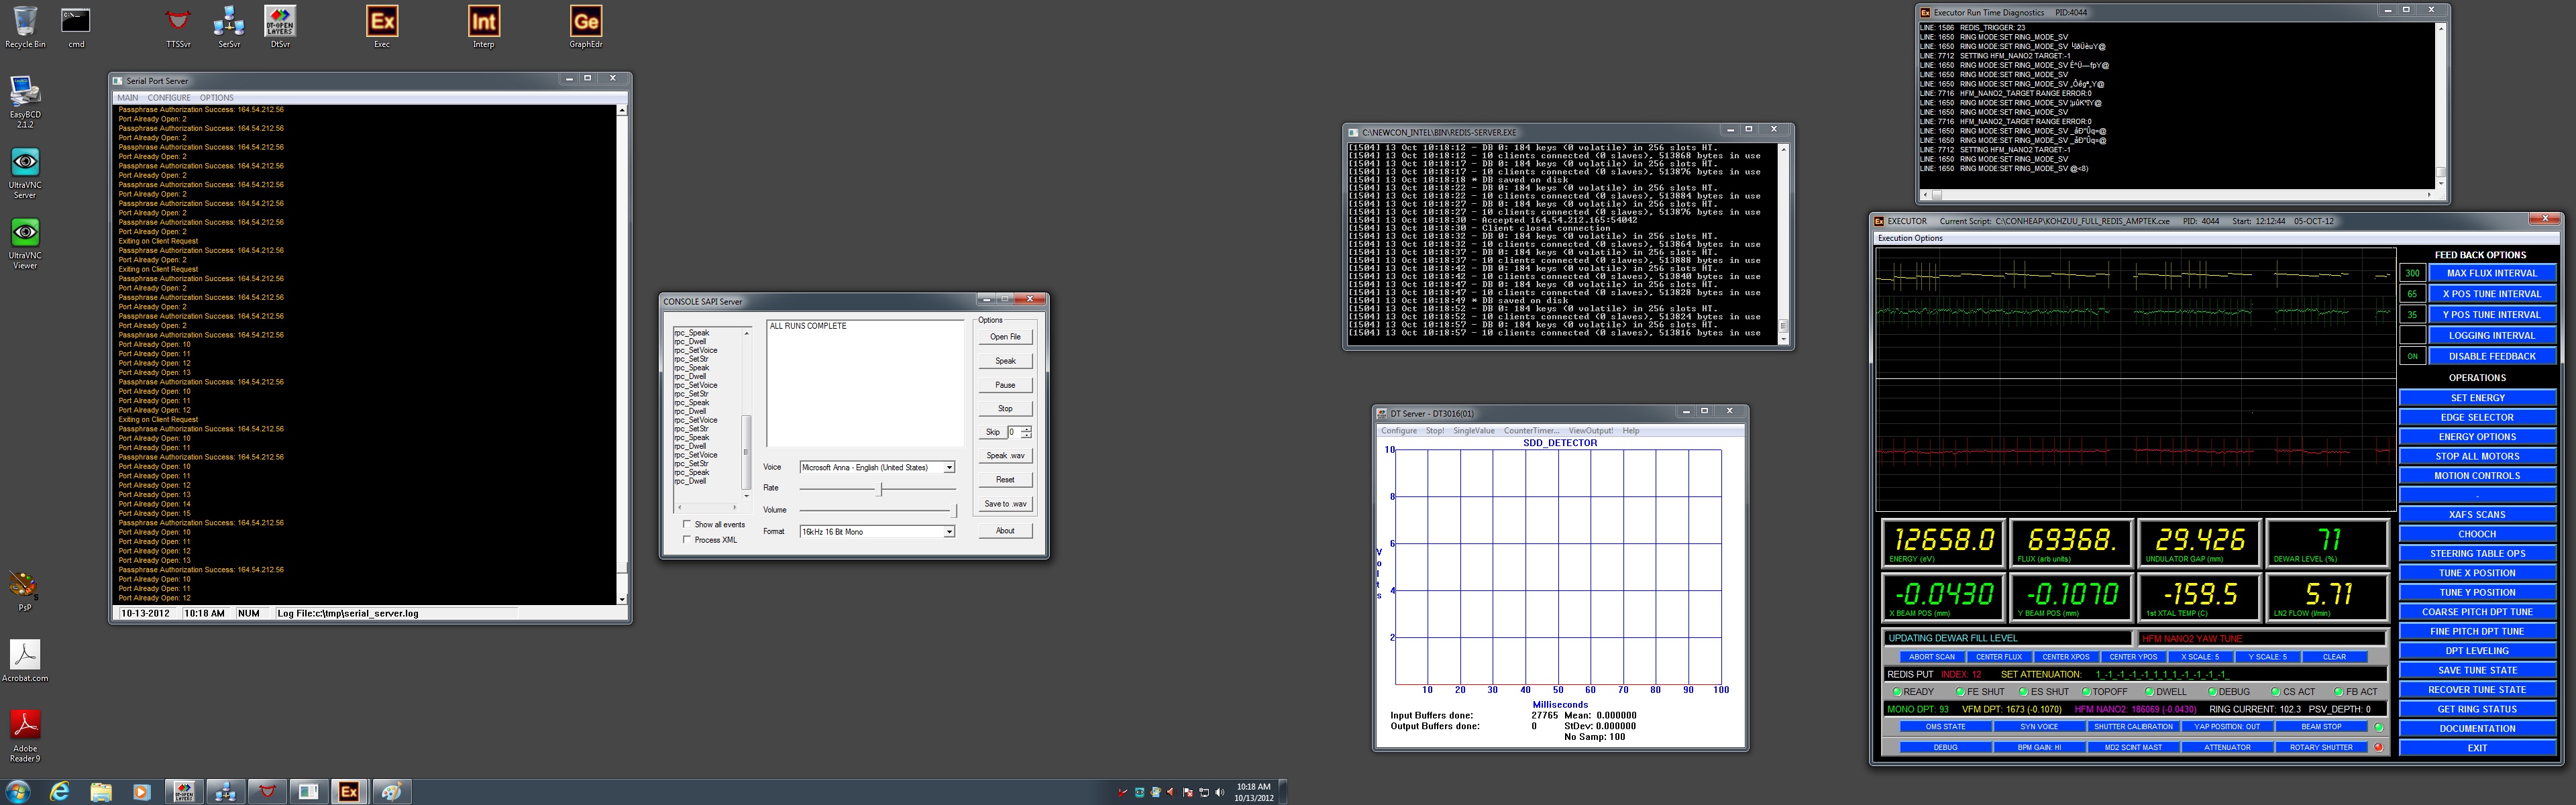
Figure 19
Drag and place the DT_SERVER and EXECUTOR on the most right monitor (as on Figure 19). Click on KVM switch to go to the auxiliary computer and restart EXECUTOR as detailed on pages 3-4. The EXECUTOR script on the computer inside the hutch should be also restarted, by clicking on the corresponding “EXECUTOR” icon on the desktop (ignore any error messages)
6. Pressing "SNAPSHOT" or "COLLECT" inside the ADSC detector software doesn't produce any results- (NOT applicable for PILATUS-6MF detector) The detector seems not to respond to any data collection command. Before proceeding further, check that you don’t have any problems described above in #2-3.
Call your support personnel first. Now close (exit) the ADSC software, on a command line type "ps -e | grep ccd". If any process are visible , use "kill -9 process_ID”. Now turn to your left and locate the white rack , like on figure 17A below.

Figure 17.
The yellow arrow show the handle you need
to pull to draw out the keyboard and monitor from the rack. Flip over
the monitor as seen on figure 17B above and either press space or
touch the mousepad to end the screensaver. On the top of the rack
there are two panels with KVM switches (shown by red arrows) - and
there are nine switches (marked 0-8) for nine different computers,
which process the raw detector images. Select first computer by
pressing "0" on KVM panel, press space to end the
screensaver and check the content of the windows with text (mostly
last 5-10 lines). The running window should have title "OPERATE
Detector". Next, select second computer by switch #1 and check
again the content of window. Repeat everything for all computers
(pressing 0,1,2,3,4,5,6,7,8 on KVM panels). The content of all
windows (last 5-10 line of text) should be similar; the computer
which is not working properly would have different text or some error
message. After checking ALL computers, return back to the computer
which displays either uncommon text or error message. Close the
window "OPERATE Detector" and double click on the desktop
icon called "OPERATE Detector": watch a lot of text printed
in the window. Now go back to the ADSC data collection computer and
type "ccdsys startup"
and
try
to
collect
any snapshots. If the detector is working properly
and collect image, flip back the monitor on the rack with computers
and push back the keyboard table. Y
you are ready to continue your
experiments.
7. Restarting the whole MD2 controller
– this operation should be done ONLY after receiving authorization
from your support personnel.
1. Exit MD2 Control Program on the PC.
2. Go inside C hutch and locate the MD2 control box (by the opposite wall, behind MD2).
3. Press the RED Motion Supply button to stop all motors.
4. Wait for 30 secs.
5. Press the Main Supply to OFF position.
Switching on sequnce:
1. Press the Main Supply to ON position.
2. Press the GREEN Motion Supply button to enable all motors.
3. Wait for 30 secs.
4. Start MD2 Control Software on the PC.
8. Restarting GALIL server
Login to 164.54.212.68 or go inside the hutch and look for the crate behind the detector;
Open a new shell and make sure galil is not running by typing “ps –e |grep galil”
Type “cd /usr/local/galil_rpc_server”, type “./start_galil &”
Check again if galil is running by typing “ps –e |grep galil”, close the terminal
Master and auxiliary EXECUTOR scripts and ADSC software should be restarted after restarting galil server.
9. List of running servers (in progress):
164.54.212.67 – pc68_rpc_server and hei_rpc_server
164.54.212.68 – pc68_rpc_server and galil_rpc_server
The KVM switch is behind the monitor
164.54.212.66 (in the rack close to LN2 controller by Station A) – serial…, utility…, diamond…, and pc68_rpc_server.
10. The GPFS file system is not responding on a local computer.
Type “sudo /etc/init.d/gpfs stop” (use necat password) wait couple minutes, type “sudo /etc/init.d/gpfs start”. If this does not help, try to use different computers until the problem is resolved by your support personnel.
11. The GPFS file system is down on all computers:
In a such emergency, you may collect data on a local
drive on ADCS computer: use /data/users/you_home_institution
directory.
12. Full restart of the
control software (only after authorization from your support personnel)
Shutdown order for full reset on 24ID-C
ADSC (Far left computer)
1.exit from GUI or type “ccdsys shutdown” at terminal
2.type two commands : “ps -e | grep ccd” and “ps -e | grep det”
at terminal
3.kill any remaining ccd/det processes by typing “kill -9 ###” (### =
process id, the 1st column of the ps... results)
PHI_MD2_PILATUS_NEW.CXE on Auxiliary (3rd from left)
press “EXIT” button in GUI (bottom-right button panel, top-right
button); or “ExecutionOptions”->”AbortScript”
ROBOT_C.CXE inside the Hutch (robot computer, check
Fig. 6 for KVM switch)
Press “EXIT” button in GUI window (bottom-middle button panel,
top-right button)
Press “File”-> “Exit EXECUTOR”
(To access this screen from MD2 desktop press the button on KVM
switch and SHIFT on keyboard)
KOZUU_FULL_REDIS_AMPTEK.CXE on Master (Far right
computer; to access use KVM switch below the top shelf)
Press “EXIT” in GUI window (bottom-right button); or
“ExecutionOptions”->”AbortScript”
Press “File”-> “Exit EXECUTOR”
Comwrapper Server (MD2 computer ; 2nd from left)
Exit by by pressing “Red Windows X” in upper right corner
(This will most likely be behind the MD2 GUI or stowed in the taskbar)
MD2 GUI (MD2 computer ; 2nd from left)
Exit GUI by pressing on the Menubar : “File->Exit”'; it takes ~90
sec to close
Restart order for full reset on 24ID-C
MD2 GUI (MD2 computer ; 2nd from left)
Double-click on icon on desktop “MD2_Control_GUI_NECAT2”![]()
Wait for it to fully start (~2 minutes)
Comwrapper Server window will start in a while
Mouse over the menubar and make sure the labels shift color – this
means the server is now active, the background should be black.
If not, kill it and restart. Minimize Comwrapper window to the taskbar.
Robot Server (Inside the hutch)
-Double-click on the icon called EXECUTOR (it may be called Exec_Intel)![]()
Click on the File -> “ClearConsServFlag”, confirm. Don’t start any
scripts for now.
KOZUU_FULL_REDIS_AMPTEK.CXE on
Master (Far right computer; to access use KVM switch below the top
shelf)
-Double-click on the icon called Exec_Intel (it may be
called EXECUTOR)
-Click on the File -> “ClearConsServFlag”
Execute script by pressing on the Menubar : “Execution
Options->Execute Script”
Wait for it to fully start (~2 minutes); Move the whole window al the
way to the right of the monitor (Fig.18).
ROBOT_CM.CXE inside the Hutch
Execute script by pressing on the Menubar ; “Execution
Options->Execute Script”
Click “OK” on dialog that pops up stating that there is already a
Console Server instance running.-Fig.11
PHI_MD2_PILATUS_NEW.CXE on Auxiliary (3rd from left)
- Double-click on the icon called Exec_Intel
Execute script by pressing on the Menubar : “Execution
Options>>Execute Script”; see like Figure 5
ADSC (Far left computer)
- type “ccdsys startup” in terminal to start ADSC
data collection GUI